Monday, August 22, 2011

Term 3


 In term 3, we learnt about cells, diffusion and osmosis, digestive system and photosynthesis.

Cell is something which we had learnt before in primary school. And what is taught in secondary school is more detailed and distinct differences and similarities were also highlighted. Before progressing into the actual learning of the cells, we must first know how to draw them. Ms Nada spent a lesson going through with us on how to draw a proper cell. It dawned upon us that drawing cells is not child’s play and we need to be very precise in our drawing. For example, when drawing a circle, the point in which one starts to draw and ends up on cannot be distinguished. There were also guidelines regarding the labeling of cell parts. After that, we officially started the learning of cells. We were introduced more parts of a cells such as mitochondrion, ribosome, the smooth and rough endoplasmic reticulum and the golgi apparatus. The exposure to more parts of a cell lets us better understand how a cell function and survive. Knowing that there are many different parts of the cell which enables it to survive, it links us to the division of labor in cells. As each part of a cell performs a specific function, how would this ensure the survival of the particular organism? We were told to think about this question. For our science practical, we were supposed to observe the surface of onion peels and our cheek cells under a microscope. Apart from learning how to properly use a microscope, which was important, we also learned how to properly place the samples in between a plastic sheet. We have to place it down slowly at an angle to prevent trapping air bubbles. To ensure that we can clearly see the specimen, iodine was added. While scraping off the cheek cells, we have to ensure that we do not apply too much force or else we would end up observing blood cells under the microscope. 


Diffusion and osmosis was what we learnt next. This topic is highly related to the next topic which we will be learning- Digestive system. In diffusion, it is always from more to less. Which means that particles move from a more concentrated region to a less concentrated region. In real life, one of the examples in which diffusion is carried out is the exchange of gases when we breathe. In osmosis, the movement of particles is from one place of high water potential to one of lower water potential.


Next, we learnt about the digestive system. Firstly, we started off by learning about the individual parts of the digestive system, together with their functions and the enzymes they contain. These enzymes aid in digestion and they aid in the absorption of food as they speed up the rate of chemical reaction and food particles could enter the bloodstream in a shorter amount of time. Ms Nada did a practical with us about the “artificial intestines”. Visking tubing filled with a solution of starch and glucose placed in a test tube of water. After some time, only the presence of glucose could be detected in the water. It is assumed that the starch particles are too huge to pass through the visking tubing, while the glucose particles are small enough diffuse out of the visking tubing. This practical let us better understand the workings of our digestive system and the way food can be absorbed into our bloodstream.  

Digestive System


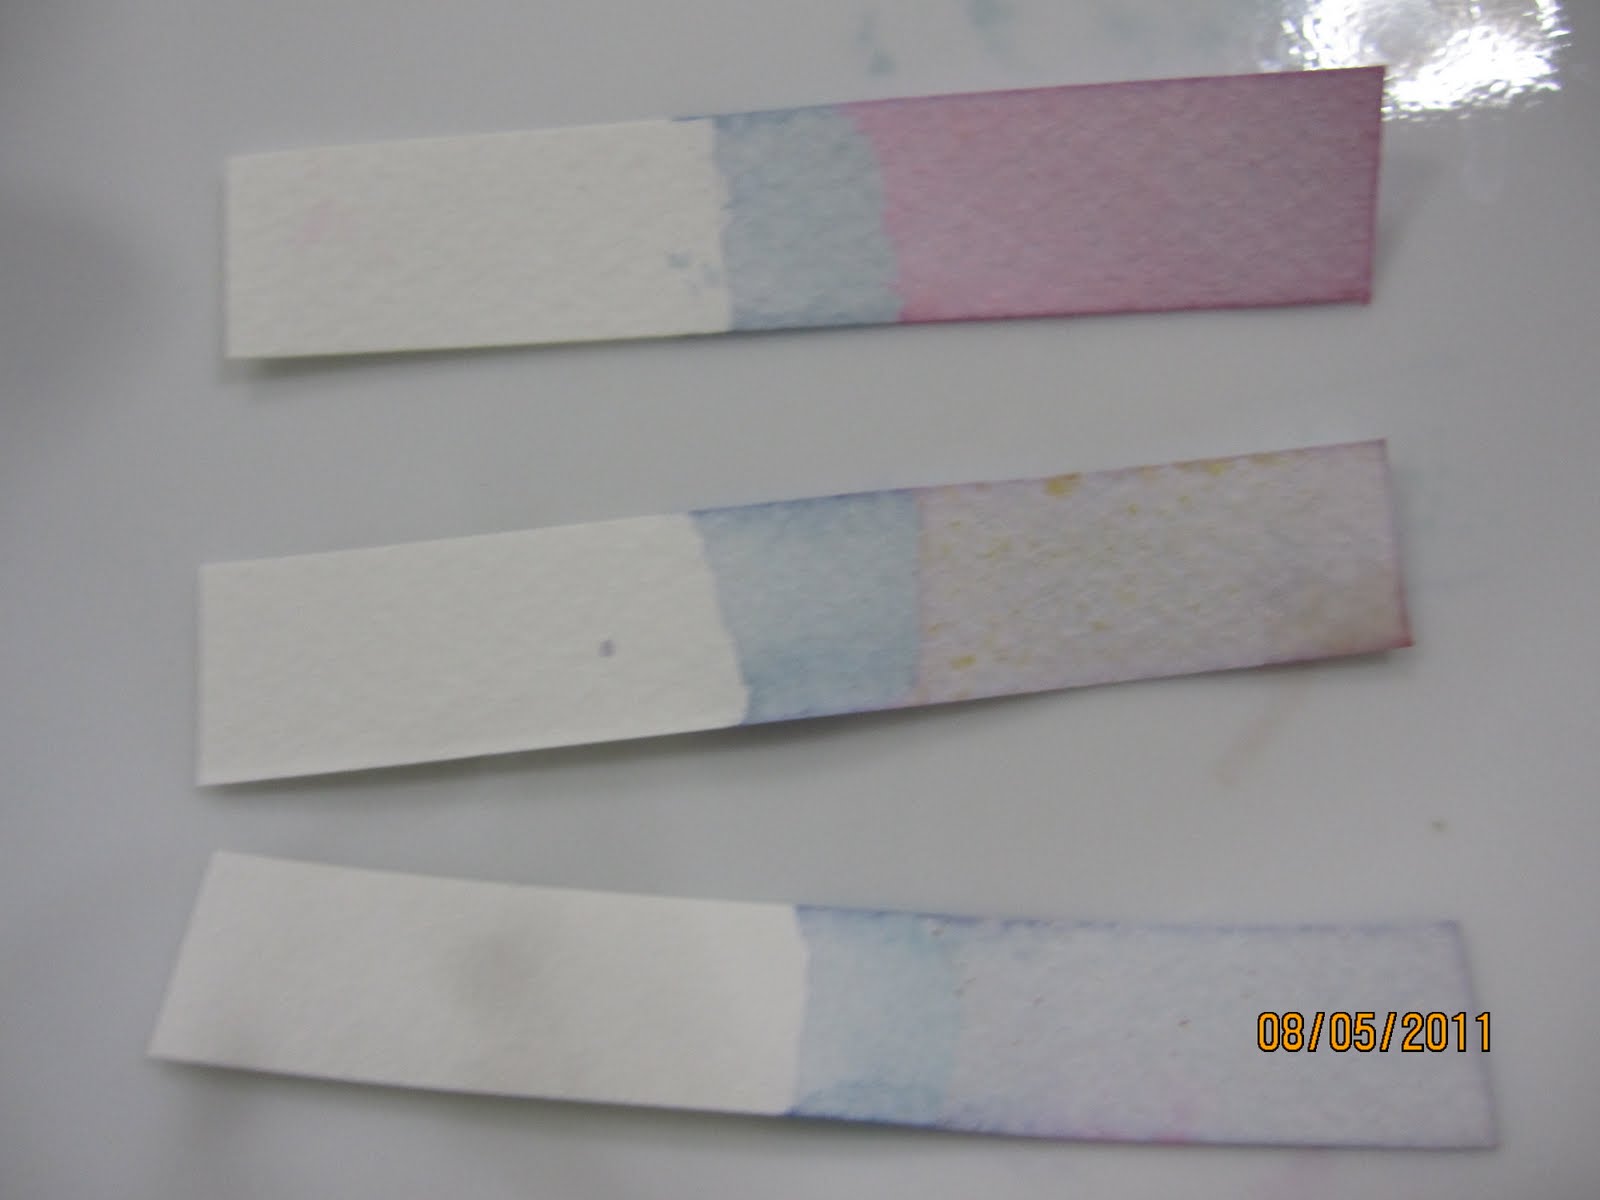
Our last topic for the term is photosynthesis. Photosynthesis is not new to us, as we have learnt the basics in Primary school. Apart from learning the process of photosynthesis, such as what must be present for it to take place and what is produced, we also learn how to conduct a practical to find out if a leaf contains chlorophyll. Firstly, we took variegated leaf and boil it in water for 2 mins. This is to break the cell structure of the leaf. Switch off the Bunsen burner. Next, we place the leaf in 20ml of methylated spirits in a beaker. The beaker which contains the leaf and the methylated spirits is then placed into the beaker of hot water. After some time, the methylated spirit will turn green. Chlorophyll solution is now in the methylated spirit. After that, remove the leaf from the beaker and place it on a white tile. Add a few drops of iodine solution.The green region of the leaf will turn blue black while the non green region will turn brown. Therefore, it can be concluded that the non green region does not contain starch while the green region contains starch.


Picture of plant cell and animal cell from: 
http://leavingbio.net/Cell Structure_files/Cell Structure_files/image023.jpg

Picture of Diffusion from:
 https://blogger.googleusercontent.com/img/b/R29vZ2xl/AVvXsEj0_ktb6PsoY7LoXSxphPSSqct7gYoPkEvl2eWtGLSVTHl4sgRXP1Y8i4uAz8NGEdiEVhmBY8YVM8oeW2mUyEJQ-ydyB84fHWYCJEYX_QD1j0kfxsugJSDaKYCcIXcFazKKWwhJKuviNwQ/s1600/diffusion+pic.gif

Picture of Osmosis from:
https://blogger.googleusercontent.com/img/b/R29vZ2xl/AVvXsEh5mNKKwvyhMvbKHTFHFSNhDm2Ct8zitNWUQVWWhXuduUrYsxBEq4SxgL3IyQJ3ScCWmQjcjMyCau9RglLMS3ShT-PYUXYw_L_6usu09ApyVoTTwNPlwb3aHN5-3Cki-XhXuODZPvhMuTs/s1600/osmosis.gif 

Picture of Digestive System:
https://blogger.googleusercontent.com/img/b/R29vZ2xl/AVvXsEjhT61dDW6RQp0RsUR4pA9WlGIGL6LQ6GGCN6htGeLDYYiZkS_gDtMo69wqMu-6FHl4lmdAwuI8BgnVlMzxNz2fEhdOiwsbXm-c8HGe1SGcGU76EoKtRrNqi2oyMsI9IiuCCU1ZTjCyqbI/s1600/Digestive+system+for+human++Digest.gif

Picture of Enzyme Example:
https://blogger.googleusercontent.com/img/b/R29vZ2xl/AVvXsEjhT61dDW6RQp0RsUR4pA9WlGIGL6LQ6GGCN6htGeLDYYiZkS_gDtMo69wqMu-6FHl4lmdAwuI8BgnVlMzxNz2fEhdOiwsbXm-c8HGe1SGcGU76EoKtRrNqi2oyMsI9IiuCCU1ZTjCyqbI/s1600/Digestive+system+for+human++Digest.gif 

Term 2 Science ACE

In May, I did my first science ACE, here is the detailed plan of my ACE…        
Aim: To find out if the level of ph. of a fruit affect its ability to conduct electricity

Apparatus and Materials Needed: Lemon (Juice), Orange (Juice), Apple (Juice), Purple Cabbage, Batteries, Light Bulb, Wires, Datalogger, Beaker

   Steps (To find if the level of ph. of a fruit affect its ability to conduct electricity)

1.      Extract the juice from the lemon, orange and apple


2.      Place the juice of these 3 kind of fruits into 3 individual cups

3.      Connect the wire to the light bulb and batteries 


4. Connect the 2 ends of the wire to the fruit juices, each at a time and record the brightness


Steps (To find the acidity)

1.         Cut the purple cabbage into strips


2.         Boil the cabbage until the juice is extracted


3.         Take the blotting paper and soak it in the purple cabbage juice and let it dry

4.         Soak the blotting paper into the beaker of fruit juice and record the colour of the blotting paper

5.         Repeat step 4 on the other 2 beakers
6.         If the blotting paper turned red, the liquid is an acid. 
7.         If the blotting paper turned green, the liquid is an alkalis
8.         If the colour of the blotting paper remain unchanged, then the liquid is neutral

Term 2

In term 2,we learnt about measurements, density, KPT, Brownian motion, elements, compounds, and mixtures, Periodic Table, Solvent and Solute and separation techniques.


We started off the term with measurements, which included physical quantities and mass. The vernier calipers and micrometer screw gauge are tools which help us to measure things more accurately and in ways which a ruler cannot. Vernier caliper can be used to measure the depth of an object. Reading the vernier caliper and the micrometer screw gauge was quite difficult initially as it operated quite differently from a ruler and had another decimal place. But after some hands on experience with them, I finally understood how they are to be used.  Other modes of measurement which included the electronic balance, spring balance, stop watch and thermometers were not that difficult. Physical quantities and units basically expect us to be able to know the prefixes and S.I units well enough. All it took was just some time to memorize them. 

Vernier Calipers
Micrometer Screw Gauge


Density was what we covered next. As density is mass divided by volume, we learnt the ways to find out the mass and volume.

Kinetic particle theory, KPT for short, was what we learnt next. This was actually a more detailed version of what we had learnt in Primary Four. Knowing how the particles of solid, liquid, gas move, vibrate, the bonds between each particle and arrangement. This topic may seem east initially, but it requires adequate revision and studying to make sure that the information stays in our mind. Also, we had to apply out knowledge of KPT to real life and this reinforced our understanding of the topic. 

Kinetic Particle Theory
 

Brownian motion is actually on how air particles move, which is basically covered in KPT. Ms Nada did a practical with us on Brownian motion and honestly, that was the first time we saw air particles. It was an eye opening experience.

Brownian Motion
 

The next topic was Elements, Compounds and Mixtures. We started off by memorizing the first 20 elements on the Periodic Table. Initially, when I first saw the Periodic Table, I was astounded by the number of elements mankind has discovered and was quite curious on each of them, or rather the practical uses of each of them. Homework was given and I did some research on some of the elements for a better answer. From elements, we went on to learn what a compound is. A compound is made up of 2 different elements chemically combined together. One of the most fascinating thing is that compounds have different properties from their constituent elements after combining it together with another element. Mixture is basically 2 elements are mixed together but not chemically combined. Ms Nada did a practical with us using Iron filings mixed with sulphur powder. 


Learning about solutions and suspensions was next. We learnt what solvent and solutes are, how to describe solutions, factors affecting solubility and the characteristics of a solution and suspension. We did a practical to find out if the solubility of different solutes differ in the same solvent. In this experiment, we kept the solvent, water, the same, and changed the solute, salt, baking soda and iodine crystals. We concluded that different solutes have different solubility in the same solvent as the maximum amount of baking soda dissolved was less than 2 g while iodine crystal was less than 1 g. The maximum amount of salt dissolved was 6 g, which makes it the most soluble solute. 


After knowing how to form a solution, we now learnt how to separate them. Some of the methods include burning, evaporation, filtration and distillation. A practical was done to try out 2 of the method- filtration and burning to evaporation. For filtration, we had a mixture of salt and sand in a beaker of water. We poured the mixture into a filter paper on a filter funnel and sand is thus filtered. Now, the filtrate is a solution of salt and water. We placed the salt solution in an evaporating dish rested on a beaker , with the Bunsen burner burning. It was quite a slow process for the water to evaporate but after some waiting, we managed to see some salt.   
 Filtration

Distillation


Picture of Vernier Calipers from:
http://www.tresnainstrument.com/measuring_instrument_images/vernier_calipers/x/vernier_calipers_vc03.jpg 

Picture of Micrometer Screw Gauge from:
http://www.ambascientific.com/product/thumbnails/Micrometer-Screw-Cat-410b.jpg 

Picture of KPT from:
https://blogger.googleusercontent.com/img/b/R29vZ2xl/AVvXsEgfBa4uqHktoIMUbXWvK_eVPa_3tJuPunXtR9c14X3xoGxnE9ZKRyV1B4kyQJ7XyfjAtGSFm867bG7aSyD8cQp_r5AVgtjS4NADhOflAAz-958hSXYXtJtj3oJjIrEC3lp5M1smDJuw_2D0/s320/image008.jpg

Picture of Brownian Motion from:
http://images.tutorvista.com/content/matter/brownian-motion.jpeg 

Picture of Elements, Compound, Mixtures from:
http://www.glogster.com/media/4/25/28/10/25281084.gif 


Picture of Iron Filing and Sulphur Powder from:
http://www.sciencephoto.com/image/3084/530wm/A2300065 Magnet_pulling_iron_filings_out_of_sulphur-SPL.jpg


Picture of Solution and Suspension from:
http://www.omex.co.uk/_Attachments/Resources/312_S4.jpg


Picture of Filtration from:
http://www.micromountain.com/sci_diagrams/sci_app/sci_app_assets/filter_lab_eng.jpg


Picture of Distillation from:
http://static.newworldencyclopedia.org/1/16/Fractional_distillation_lab_apparatus.png


Term 1

In term 1, we started off the science lesson by learning about the qualities of a good scientist, followed by how experiments are carried out, the science laboratory itself and the equipment in it, the Bunsen Burner, Observation and Recording, Measurements, Physical Quantities and Mass, Weight and Density.

While sharing on the qualities of a good scientist, Darwin was used as an example. After studying on the qualities he possessed and the things which he had done to pursue his interest, we found that being a scientist was not as easy as it seems. We thought that having a good brain was sufficient, but it takes more than just that. Perseverance and continuous hard work is also the key to a successful scientist.

Charles Darwin

Next, we understood the variables when plotting graph and recording discoveries. We learnt more about independent variables, dependent variables and constant variables. Soon after that, we learnt about how we can plot graphs using these variables. We had difficulty in drawing an acceptable graph as we must draw a smooth, continuous line. But after some practice, we managed to plot a graph deemed acceptable by Ms Nada. Ms Nada also shared tips and her own experience with us on drawing a good graph. All these information were quite helpful as she understood the mistakes made by many students and the difficulties which we faced.

Next, we proceeded to learning the equipment used in laboratory. Most of the equipment seemed familiar to us as we had seen them in Primary school. But when we were asked to name them, many of us did not have a clue. Learning and remembering the names was not the only thing we had to do. Drawing of the equipment used was also taught. As usual, we cannot leave any gaps or breaks in lines and had to get the proportions right. But after lots of nagging from Ms Nada, we managed to get it right.


Learning how to use the Bunsen burner was next. It may seem easy at first but we really have to follow many safety procedures. Honestly, learning all the parts of the Bunsen burner was not that hard as we can see it physically and is easier to learn. We also learnt the proper and safe way of heating something over a Bunsen burner.


Picture of Darwin from:
http://upload.wikimedia.org/wikipedia/commons/1/1a/Charles_Darwin_by_G._Richmond.jpg

Picture of Laboratory Equipments from:
http://zenolab.com/wp-content/uploads/2011/05/1306320317-81.jpg


Picture of Bunsen Burner from:
http://www.linefour.com/acatalog/bunsen.jpg